How to Take a Screenshot on a MacBook
Need to capture something on your MacBook screen? Whether you are saving a conversation, part of a website, or a file image, knowing how to take a screenshot on a MacBook can be super helpful.
This guide will show you easy ways to take screenshots on MacBook, MacBook Pros, and MacBook Air. No apps are needed, just simple keyboard shortcuts and tricks anyone can use, even a beginner.
Why Learn to Screenshot on a Mac?
Taking a screenshot lets you:
- Save what is on your screen
- Share images, messages, or errors.
- Keep proof of online transactions.
- Show someone what you see.
Let’s explore the different ways you can take screenshots on your MacBook.
Step-by-Step Guide to Taking Screenshots on Any MacBook
Method 1: Screenshot the Entire Screen
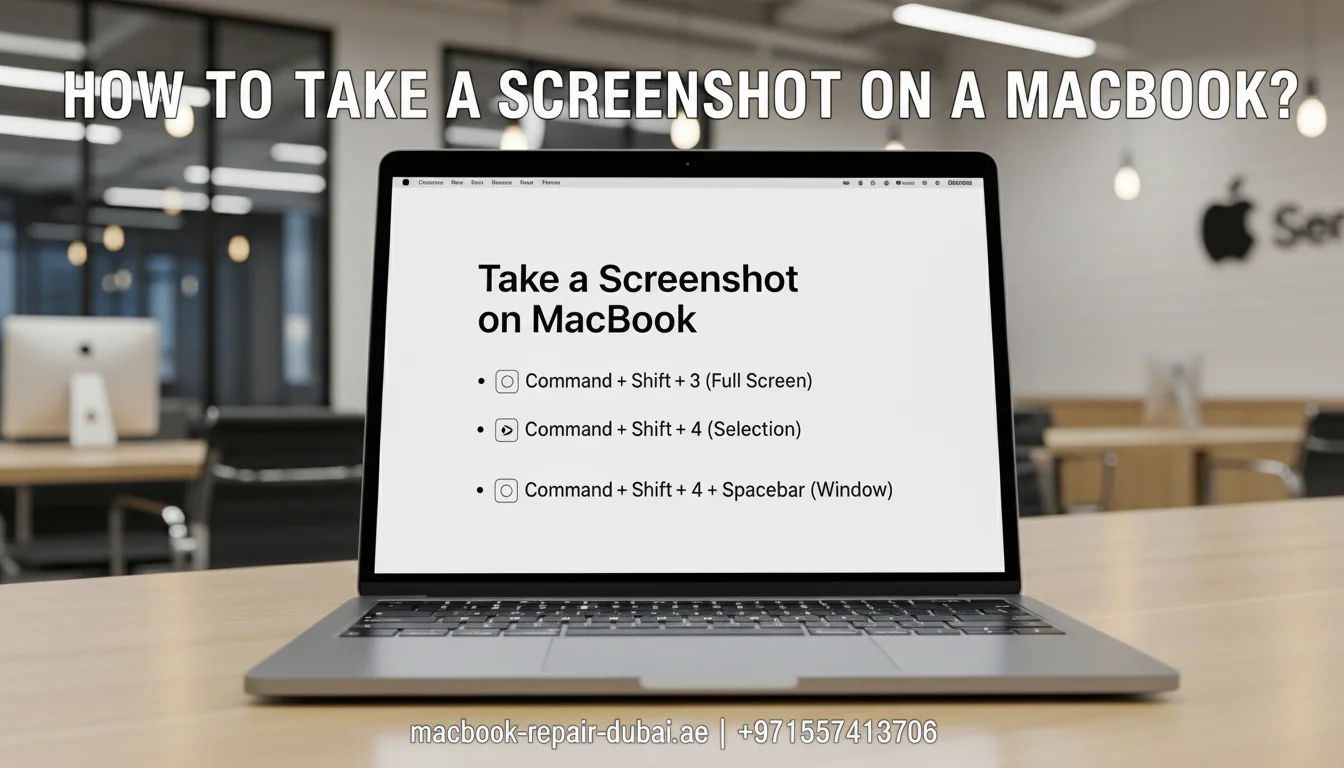
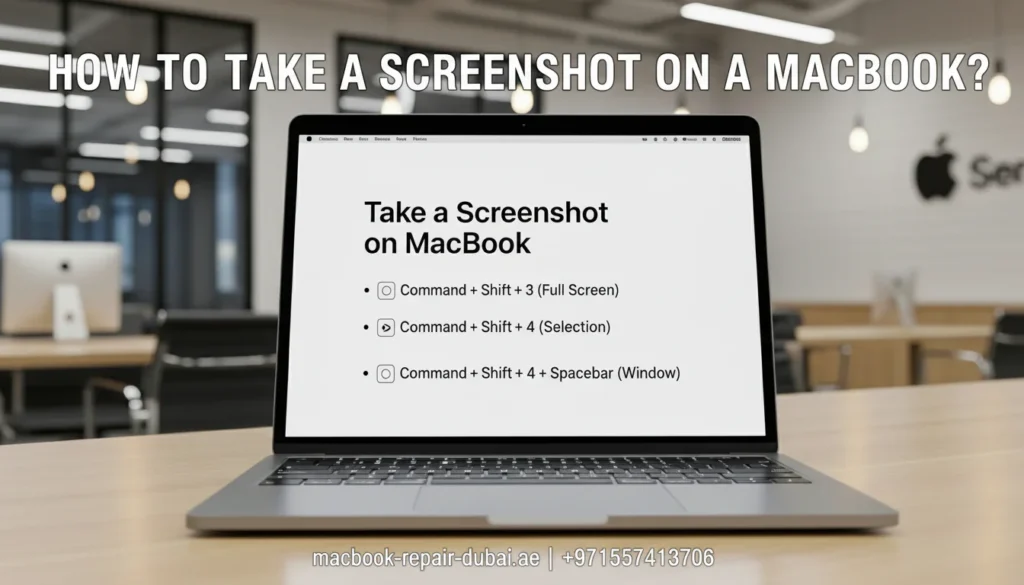
Shortcut: Command (⌘) + Shift + 3
This takes a full-screen screenshot, saved automatically to your Desktop.
Works on all models:
Method 2: Screenshot a Part of the Screen
Shortcut: Command (⌘) + Shift + 4
Your pointer turns into a cross. Click and drag to select the area you want to screenshot.
This allows you to capture just a small section of the screen.
Method 3: Screenshot a Specific Window
Shortcut: Command (⌘) + Shift + 4, then press Space bar
When your pointer turns into a camera icon, click any open window to capture it. It is perfect for capturing apps, files, or browser windos.
Method 4: Use the Screenshot Toolbar
Shortcut: Command (⌘) + Shift + 5
A toolbar appears below with capture options.
Capture full screen
- Capture the selected window or area.
- Capture a recording of your screen.
- Pick where you want to save your screenshot.
Choose this for more control and extra features.
Bonus: How to Screenshot on MacBook Air
You are in luck if you ask how to screenshot on a MacBook Air. The same shortcuts work.
Just use:
- ⌘ + Shift + 3 for full screen
- ⌘ + Shift + 4 for part of the screen
- ⌘ + Shift + 5 for advanced options
If your screenshot shortcuts don’t work on your Air, check out our MacBook Air repair services for fast diagnostics.
How to Capture a Screenshot on Your MacBook Pro
You get one more cool feature if you use a MacBook Pro, especially with the Touch Bar.
Screenshot the Touch Bar
Shortcut: Command (⌘) + Shift + 6
This captures exactly what is on the Touch Bar.
All other shortcuts work the same way as on other MacBook models. If your Pro model isn’t functioning as it should, visit our MacBook Pro repair in Dubai page.
Where Are My Screenshots Saved?
Your Mac saves screenshots to the Desktop by default as .png files. You can change the save location using the screenshot toolbar:
- Press ⌘ + Shift + 5
- Click Options
- Choose a new folder or location.
How to Keep Screenshots Organized
- Make a folder named Screenshots.
- Move your images into that folder regularly.
- Use Stacks on your Desktop (Right-click → Use Stacks)
Using this feature helps keep your MacBook clean and tidy.
Quick Screenshot Shortcuts Table
Screenshot Type | Shortcut Key | Works On |
Full Screen | Command (⌘) + Shift + 3 | All MacBook models |
Selected Area | Command (⌘) + Shift + 4 | All MacBook models |
Specific Window | Command (⌘) + Shift + 4, then Spacebar | All MacBook models |
Screenshot Toolbar | Command (⌘) + Shift + 5 | All MacBook models |
Touch Bar (MacBook Pro) | Command (⌘) + Shift + 6 | MacBook Pro with Touch Bar |
Related Posts

