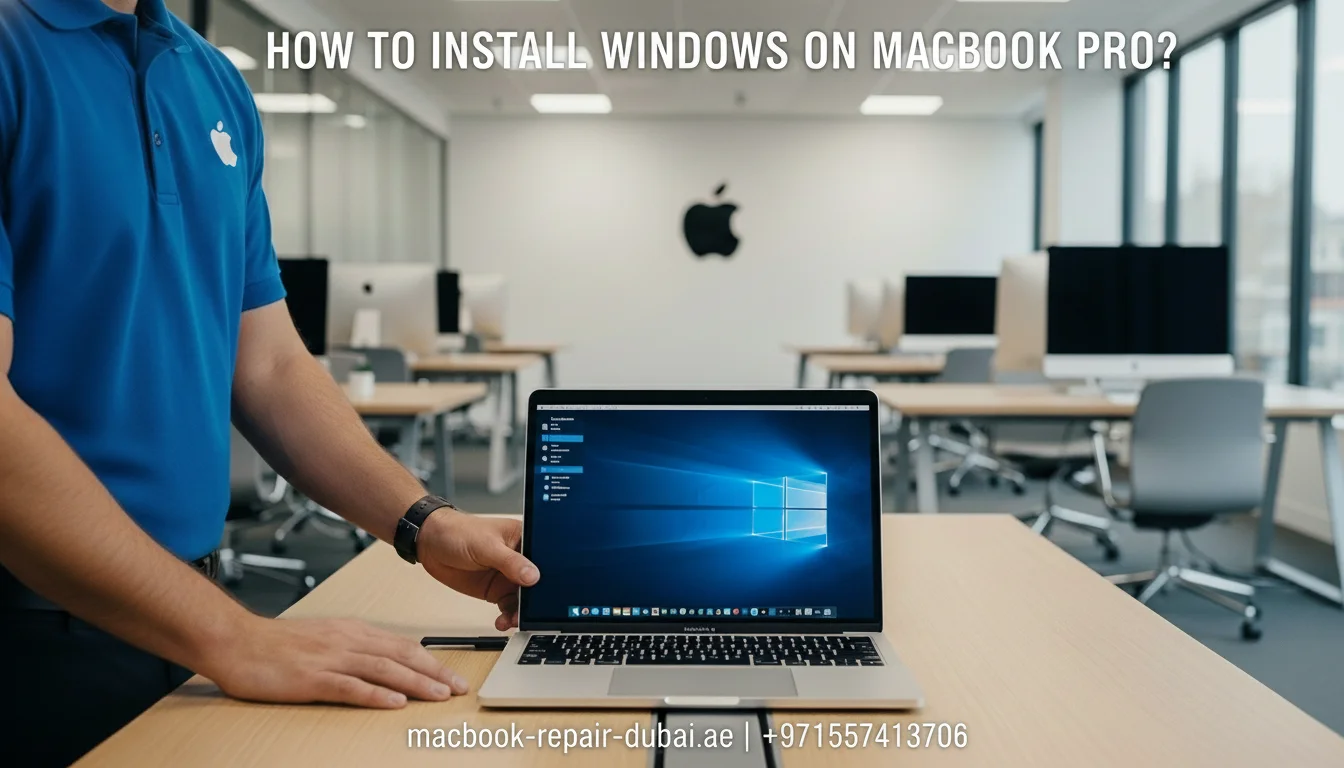
How to Install Windows on MacBook Pro
Want to use Windows on your MacBook Pro? You are not alone. Many users install Windows to run games or apps that only work on Windows. Luckily, it is easier than you think.
This guide will teach you how to install Windows on a MacBook, including the MacBook Pro 2015 model. We will also show you how to format your MacBook before installing.

Why Install Windows on a MacBook?
With Windows on your Mac, you get the best of both worlds: macOS stylish design and Windows full compatibility.
Reasons to install Windows:
- Run Windows-only software or games
- Use Microsoft Office and Windows apps natively.
- Dual-boot between macOS and Windows
What You Need Before You Start
Before installing Windows, ensure you have the following:
- A MacBook Pro is compatible with models from 2015 and later.
- You will need at least 64 GB of free space on your hard drive.
- A 16 GB or larger USB drive (if you are using older models like 2015)
- A Windows 10 or 11 ISO file from the official Microsoft website
- A full backup of your Mac (just in case)
How to Install Windows on Your MacBook Pro Using Boot Camp
Follow this easy guide to set up Windows on your MacBook Pro:
1. Open Boot Camp Assistant
- Go to Applications > Utilities > Boot Camp Assistant
- Click to launch the app.
2. Select the Windows ISO File
- Choose the Windows ISO file you downloaded earlier.
- Click Continue to proceed.
3. Create a Partition for Windows
- Decide how much space to give to Windows.
- Tip: Allocate at least 64 GB for smooth performance.
- Click Install to start partitioning and rebooting.
4. Install Windows
- Your Mac will restart and begin installing Windows.
- Follow the on-screen prompts:
- Select language and region
- Set your time zone
- Create a password
- Select language and region
5. Install Boot Camp Drivers in Windows
- Once Windows is installed, Boot Camp will auto-launch to install drivers.
- These drivers enable full functionality of your Mac hardware on Windows (Wi-Fi, keyboard, trackpad, etc.).
- Follow the prompts and restart when complete.
How to Install Windows on MacBook Pro 2015
Installing a MacBook Pro 2015 is just as easy, but you may need a USB drive.
Tips for MacBook Pro 2015 users:
- Use a USB stick to create a Windows installer during the Boot Camp process.
- Update your Mac to the newest macOS version that works with Boot Camp.
- Your MacBook Pro 2015 may take longer to install than newer models, so be patient.
You can still install Windows smoothly on a MacBook Pro 2015 with Boot Camp.
How to Format a MacBook Before Installing Windows
Sometimes, formatting your MacBook before installing Windows helps you start fresh.
To format a MacBook:
- Restart your Mac and hold Command (⌘) + R.
- Select Disk Utility from the available menu options.
- Select your disk (usually named Macintosh HD), then click Erase.
- Select APFS or macOS Extended (Journaled).
- Click Erase, then exit Disk Utility.
Note: Only format your Mac if you do a complete system switch. Backup your files first.
Quick Reference Table
Task | Tools Needed | Best For |
Install Windows on MacBook | Boot Camp + ISO | Run Windows alongside macOS |
Install Windows on MacBook Pro 2015 | Boot Camp + USB Drive | Older MacBook Pro users |
Format MacBook | macOS Disk Utility | Clean the system before dual boot |
Final Thoughts
Now you know exactly how to install Windows on a MacBook Pro, whether a new model or a 2015 version. You also learned how to format the MacBook before installation if needed.
Using both macOS and windows on your Mac unlocks greater flexibility and productivity. And if you ever need assistance, MRD is always here to help every step of the way. Feel free to contact us for fast, friendly support.
Related Posts
